


Create Silhouettes Using Natural Light
A quick guide in creating silhouette photography. Try it out today.


You Don’t Need Fancy Gear
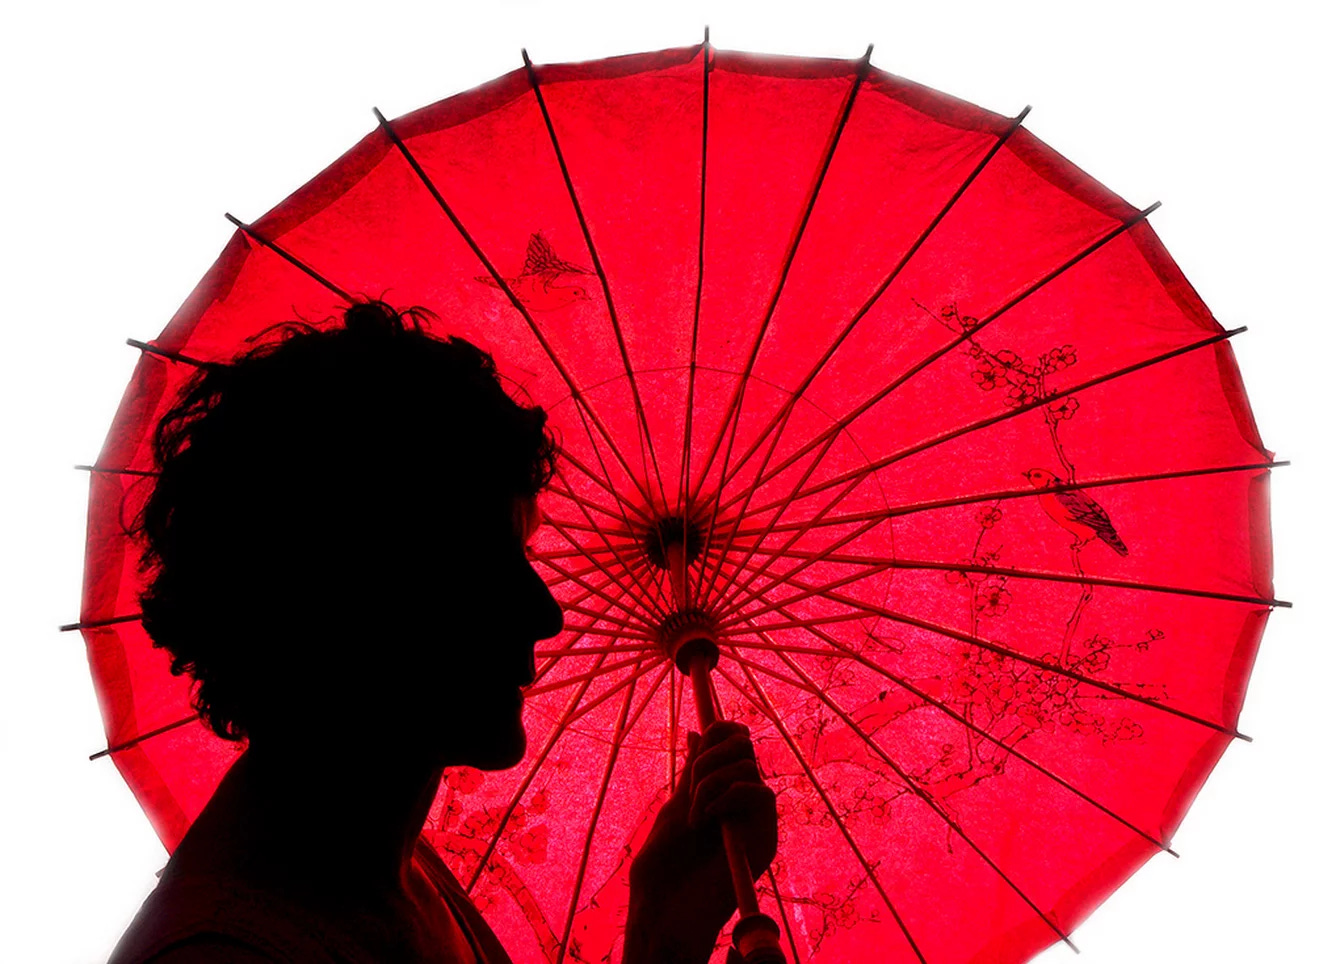
All silhouette photography really is about is creating a strong contrast between lights and darks, where the main subject is in the dark.
Here’s an example:

You probably get the impression that you need something “special” in order to create this effect.
Truth is, you don’t even need artificial lights or a fancy camera.
You can do this with your phone.
All you need is 1 simple ingredient…
A Strong Light Source
Street lights at night.
Traffic lights.
Sunlight.
Window light.
Anything.
The rest is placement and camera settings.
Here’s how you do it.
Placement & Settings
Place your subject, in this case a person, directly in front of the strong light source.
Meaning, the light source should shine behind your person.
After that’s done, point the camera at the subject at frame the picture to your liking.
Next, use your camera settings to slowly bring down exposure so that your background isn’t too overexposed.
This is about fine-tuning so that the background looks good all while your subject is darkened as much as possible - to start working on that silhouette.
What you will notice is that your subject is very dark (which is good, of course), but it might not be entirely black like in the picture example above.
This is because you need one final step to finalize the image.
A Touch of Editing
Open your photo in any editing software of your choice, including the built in editing features of your iPhone or Android.
Now - simply pull down the shadows slider. If you have access to the “blacks” slider, pull that one down too until you reach your desired results.
And voilá!
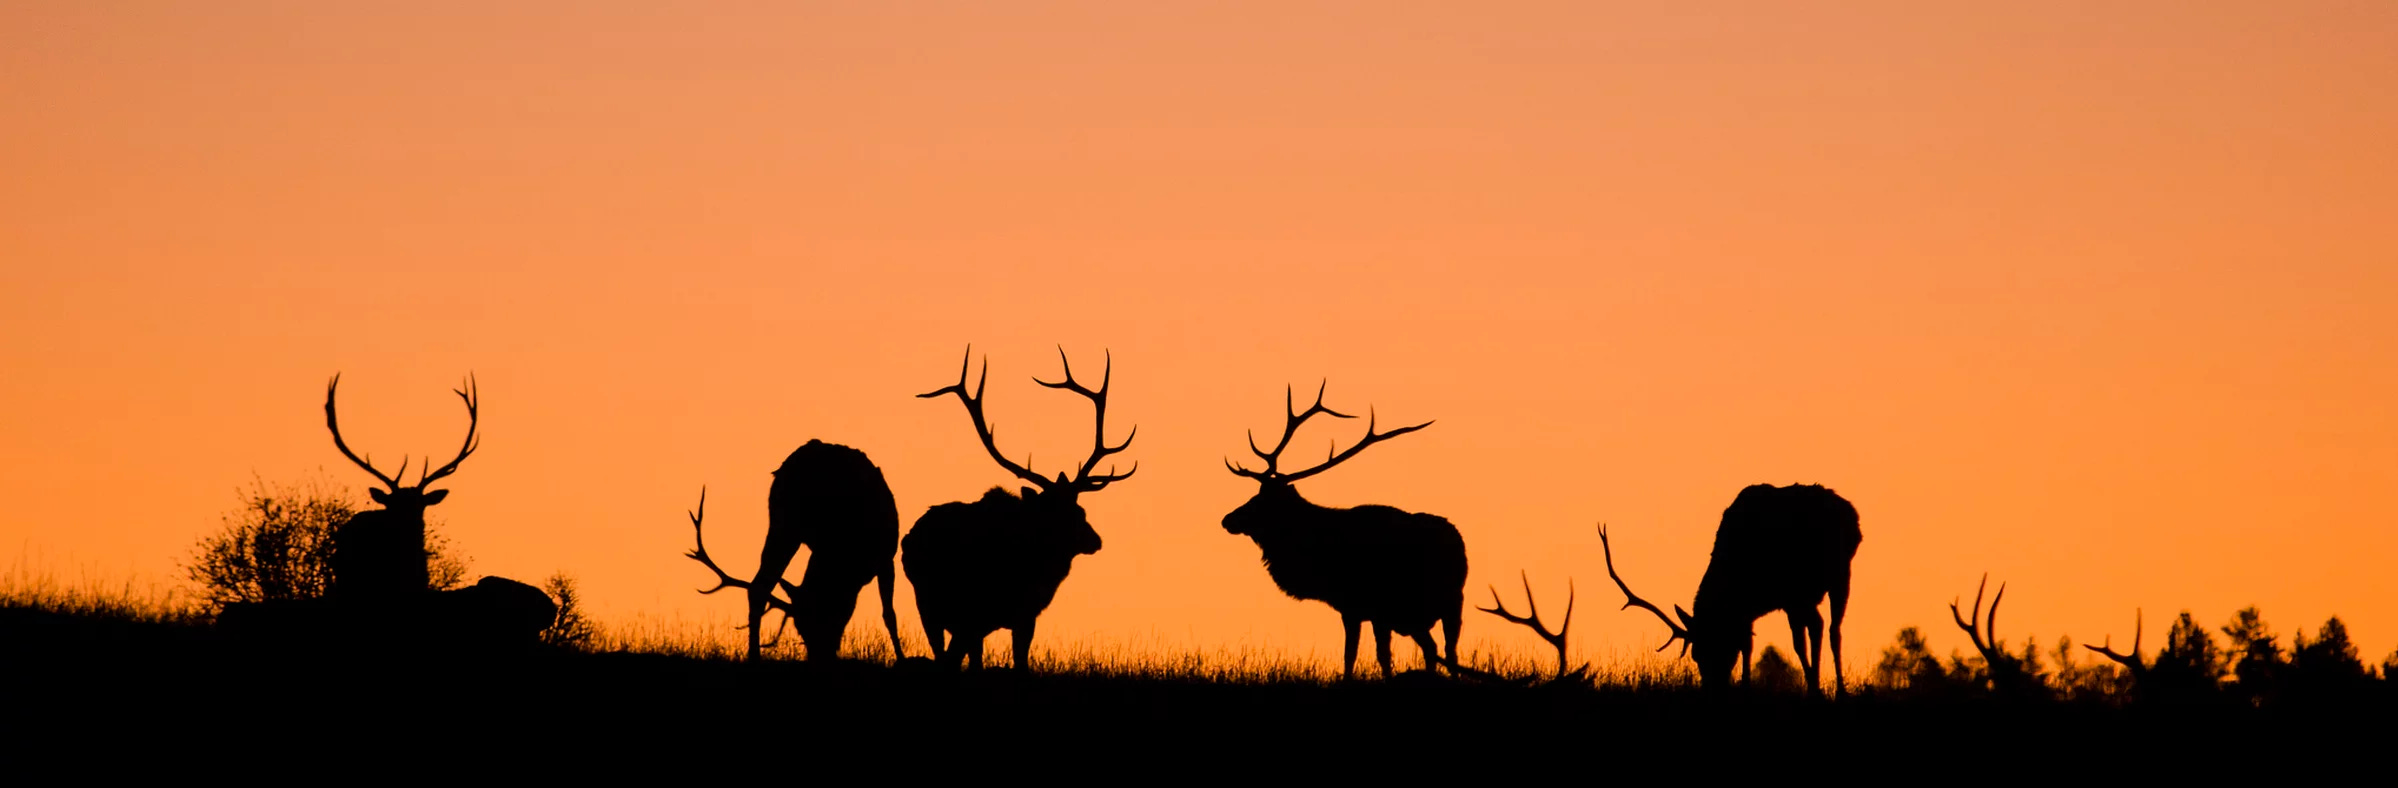
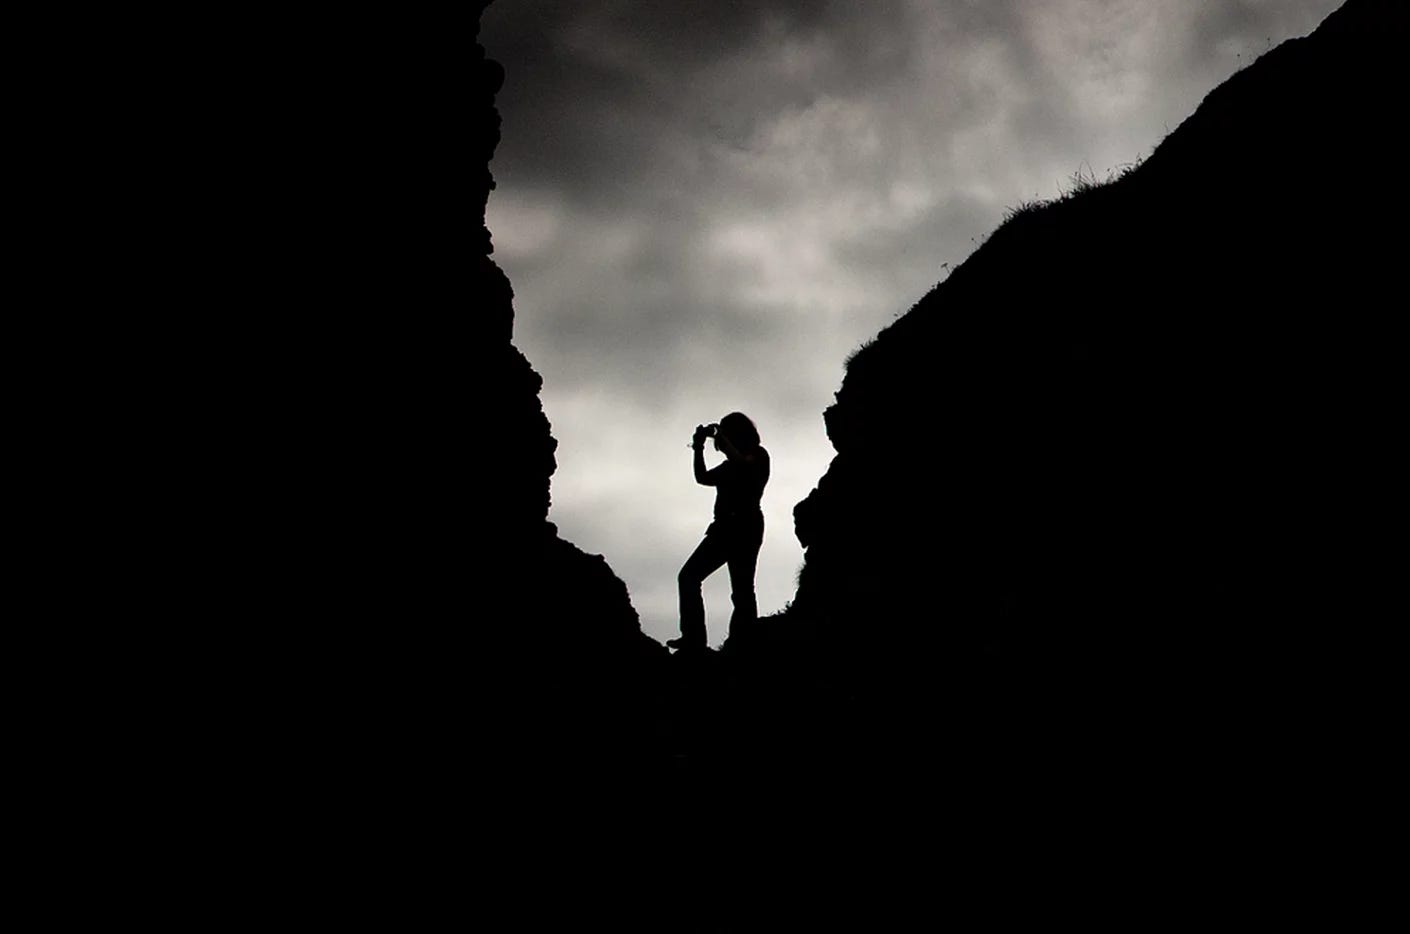
You have now successfully created a silhouetted image, like the ones below.
Show Us Your Results
Feel free to post the photos in the Noir Collective Facebook group. If you haven’t joined already, you can do so (for free) using the button below.